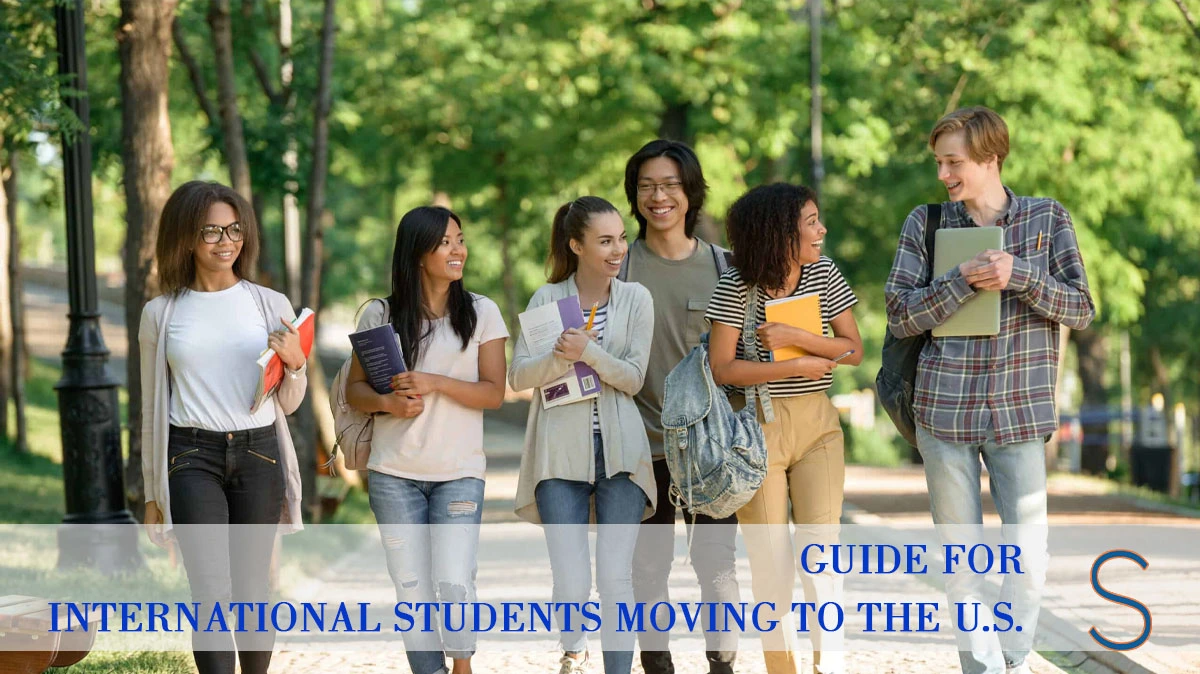
Moving to a new country is both exciting and overwhelming, especially when that country is as complex and vast as the United States. For international students, navigating the technical, bureaucratic, and logistical aspects of the move can feel like a daunting task. But don’t worry—you’re not alone.
In this guide, we’ll walk you through everything you need to prepare before embarking on your educational journey in the U.S. From visas to insurance, and even Social Security Numbers, consider this your big-sister guide to adulting in America. Let’s dive in!
Before we begin, if you are a student relocating abroad, and you are finding challenges balancing your academic life and career goals. Here is the best guide for you: How International Students Can Balance School and Career Goals
1. The F1 Visa: Your Ticket to Study in the U.S.
Most international students in the U.S. enter on an F1 visa. This non-immigrant visa is issued to students pursuing academic programs and typically lasts for the duration of your studies. Here’s a step-by-step breakdown of the F1 visa application process:
Step 1: Acceptance into a U.S. Institution
Your journey begins with securing admission to a U.S. university or institution. Once accepted, you’ll be enrolled in the Student and Exchange Visitor Program (SEVP).
Step 2: Receive Your I-20
The Form I-20 is one of the most crucial documents in this process. Issued by your university, it contains key details like your SEVIS ID, program duration, and school fees. Keep this document safe, as it will be required at customs and during your visa interview.
- Tip: Double-check your address when your university sends your I-20. Mistakes can lead to delays. If possible, pay for tracking services like FedEx or DHL to ensure safe delivery.
Step 3: Pay the SEVIS Fee
Before applying for the F1 visa, you’ll need to pay a $350 SEVIS fee. This one-time payment supports the system that tracks and monitors students in the U.S.
Step 4: Schedule a Visa Interview
With your SEVIS payment confirmation, I-20, passport, and other documents in hand, schedule an appointment at your local U.S. embassy or consulate. During the interview, emphasize your intention to return to your home country after graduation.
Timeline
The entire process, from receiving your I-20 to getting your visa, can take up to three months. Plan ahead to avoid last-minute stress.
2. Navigating U.S. Health Insurance
Healthcare in the U.S. is notoriously expensive, so insurance is a must. Many universities offer health insurance packages, but these can be costly. For example, the University of Chicago’s plan costs over $4,000 per year.
Alternative Options
You can often waive university insurance by purchasing a private plan that meets your school’s requirements. Popular options include PSI Insurance, which offers affordable plans starting around $800 per year.
- Pro Tip: Research your insurance plan thoroughly to ensure it covers your specific healthcare needs, including pre-existing conditions and emergency care.
3. Getting a Social Security Number (SSN)
An SSN is essential for many activities in the U.S., from opening bank accounts to applying for credit cards and even getting a driver’s license.
How to Get an SSN
- On-Campus Employment: Secure a job on campus. Once employed, your university will provide you with an employment letter.
- University’s International Office: Obtain an SSN letter from your university’s international office.
- Social Security Office Appointment: Bring the following documents to your local Social Security office:
- Passport
- I-20
- Employment letter
- SSN letter from your university
Timeline
The process typically takes about a month, but delays can occur, especially during peak seasons or public health crises like COVID-19.
4. Working and Internships: OPT and CPT
For those looking to gain work experience, there are two key programs to understand:
Optional Practical Training (OPT)
- Allows up to 12 months of work authorization directly related to your major.
- Post-graduation is often used to gain practical experience before applying for a work visa.
Curricular Practical Training (CPT)
- Used for internships or cooperative education programs that are part of your academic curriculum.
- Easier to obtain if the program is affiliated with your university.
Important: You must complete one academic year in the U.S. before becoming eligible for OPT or CPT.
5. Essential Tips for Smooth Transition
Document Organization
- Create both physical and digital copies of all important documents, including your passport, I-20, visa, and insurance details.
- Use a tool like Notion to compile everything in one place.
Banking and Finances
- Open a U.S. bank account as soon as possible. Many banks offer student-friendly accounts with low or no fees.
- Consider getting a credit card to start building your credit score. Some banks, like Discover, offer options for international students without requiring an SSN.
Cultural Adjustment
- The U.S. is diverse, and cultural norms can vary widely. Be open-minded and ready to learn.
Transportation
- Research public transportation options in your city. If you plan to drive, you’ll need to apply for a driver’s license, which often requires an SSN.
Final Thoughts: You Are Welcome Here
Moving to the U.S. as an international student is a complex but rewarding journey. While the paperwork and preparation may seem overwhelming, taking it step by step will make the process manageable. Remember, you are not just moving to a new country—you are joining a global community of learners.
Welcome to the United States! You’ve got this.

Leave a Reply